
The dream of homeownership often comes with an uninvited guest: the rising cost of keeping everything running. Between monthly power bills that climb with every season and sudden, budget-wrecking breakdown expenses, the financial strain of managing a home can feel relentless. Many homeowners fall into a reactive trap, choosing to ignore their home’s vital systems until something stops working entirely.
This “run-to-failure” mindset is incredibly expensive. Postponing minor, inexpensive maintenance tasks might save you a few dollars today, but it virtually guarantees a massive repair bill tomorrow. A simple clogged filter can burn out an expensive compressor, and a slow, ignored drip can rot a subfloor. By shifting your approach from reactive crisis management to proactive maintenance, you can instantly shave significant percentages off your monthly utility bills and completely bypass catastrophic emergency repair costs.
Optimizing Heating and Cooling Efficiency
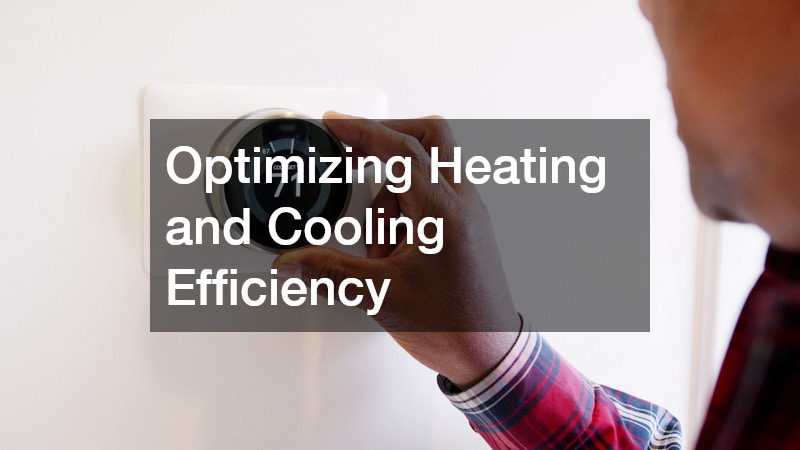
Your climate control system is easily the hungriest energy consumer in your home, often accounting for over half of your total monthly utility expenses. When dust, dirt, and mechanical neglect choke this system, it has to run longer and work significantly harder to keep your rooms comfortable.
Keeping this equipment clean and unobstructed is the easiest way to lower your heating and cooling costs.
- Implement a strict filter rotation: Dirty air filters are the primary cause of system airflow issues. Check your filters every month, especially if you have pets or live in dusty climates, and replace them at least once every 90 days.
- Keep the outdoor unit clear: Your outdoor condenser unit needs room to breathe to dump heat effectively. Clear away any encroaching weeds, leaves, or shrubs to maintain a two-foot perimeter of clear space around the unit.
- Clean the coils gently: Once or twice a year, turn off the power and use a garden hose to rinse away accumulated pollen and dirt from the condenser coils, spraying from the inside out to avoid trapping debris deeper in the fins.
- Clear the condensate drain line: Pour a cup of vinegar down your AC’s drain line every few months to prevent algae buildup, which can cause water to back up and flood your ceilings or floors.
- Seal and insulate exposed ductwork: Inspect accessible ducts in your basement or attic for gaps and seal them with mastic sealant or foil tape to prevent heated or cooled air from escaping into unconditioned spaces.
Beyond basic cleaning, your system benefits greatly from professional calibration. Scheduling an annual pre-season check-up ensures that electrical connections are tight, refrigerant levels are precise, and internal components are lubricated. These precise adjustments are best left to licensed HVAC contractors who have the specialized diagnostic tools to spot failing capacitors or minor leaks before they trigger a system-wide shutdown.
Additionally, tracking the age of your equipment is a major part of smart financial planning. If your system is over fifteen years old and requiring frequent fixes, continuing to patch it up is often a waste of money. Planning ahead for eventual air conditioner replacements allows you to shop around for energy-efficient rebates and schedule the installation during mild shoulder seasons, rather than paying premium emergency labor rates in the middle of a summer heatwave.
Protecting Your Water Heating and Pressure Systems

Water heaters work silently in dark closets or basements, making them incredibly easy to forget until your morning shower suddenly turns icy. Because they run constantly to keep gallons of water hot, they are highly susceptible to efficiency losses and internal damage from mineral buildup.
Proactive care is essential to keep your water heating bills low and prevent catastrophic tank failures.
- Perform an annual tank flush: In areas with hard water, calcium and magnesium settle to the bottom of the tank, creating a thick layer of scale. This scale acts as an insulating blanket, forcing the heating element to burn more energy just to heat the water through the sediment.
- Test the pressure relief valve: Periodically lift the lever on the temperature and pressure relief valve to ensure water flows freely and shuts off completely. A stuck valve can cause dangerous pressure spikes.
- Lower the thermostat setting: Many manufacturers ship water heaters set to 140 degrees Fahrenheit. Lowering this dial to 120 degrees prevents scalding, reduces standby heat loss, and trims your heating bill by up to ten percent.
- Inspect and replace the anode rod: Check this sacrificial metal rod every three years; replacing it when worn out stops the interior steel tank from rusting and leaking.
- Insulate exposed hot water pipes: Wrap the first six feet of cold and hot water pipes leading out of the water heater with foam sleeves to reduce heat loss and get hot water to your taps faster.
When a water heater begins to exhibit problems, such as popping noises from the tank or a slow decline in hot water output, acting quickly can save you from buying an entirely new appliance. Timely water heater repairs, such as swapping out a depleted anode rod or replacing a failed thermostat, can easily double the operating lifespan of your system.
It is also wise to monitor your home’s incoming water pressure. Excessively high pressure puts immense stress on every pipe joint, hose connection, and appliance valve in your home. Buying a simple pressure gauge and testing an outdoor spigot will tell you if your pressure exceeds the safe limit of 60 PSI. If your pressure is too high, coordinating with professional plumbing companies to install or replace a pressure-regulating valve will protect your entire plumbing system from ruinous leaks.
Safeguarding Your Drainage and Main Sewer Lines
Water entering your home must eventually leave it. While clean incoming water is highly pressurized, your wastewater drainage relies entirely on gravity and clear, unobstructed pathways. When drains slow down or backup, the resulting water damage can destroy flooring, walls, and personal property within minutes.
Keeping your drain lines clear requires a combination of smart daily habits and careful preventative maintenance.
- Ditch the chemical cleaners: Store-bought liquid drain openers are highly corrosive and can eat away at older metal pipes or warp PVC joints. Use a manual drain snake or enzymatic cleaners to dissolve organic blockages safely.
- Protect bathroom drains: Install mesh hair catchers in every shower and tub. Hair binds with soap scum to create dense, stubborn blockages deep inside your walls.
- Manage kitchen waste responsibly: Never pour cooking grease, fats, or oils down the kitchen sink. Even if you wash them down with hot water, they will eventually cool, solidify, and catch food particles to form a solid plug.
- Keep your garbage disposal clean: Grind ice cubes and lemon peels weekly to scrub the grinding blades and eliminate foul-smelling grease buildup.
- Flush drains with boiling water: Pour a kettle of boiling water down your kitchen and bathroom drains once a week to melt minor soap scum and grease accumulation before it hardens.
When standard household methods fail to clear a stubborn clog, calling in professional help for targeted clogged drain repairs is the safest way to clear the line without damaging your plumbing. This is especially true for the main sewer line that connects your home to the municipal sewer system.
Over time, tree roots can find their way into tiny hairline cracks in these underground lines, expanding rapidly as they feed on the moisture and nutrients inside. If you notice multiple drains in your home backing up simultaneously, it is a sign of a mainline issue. Ignoring these warnings can lead to a collapsed pipe, forcing you to undergo an expensive, disruptive residential sewer line installation to replace the ruined conduit beneath your lawn.
Sealing the Envelope: Attic, Insulation, and Roof Care
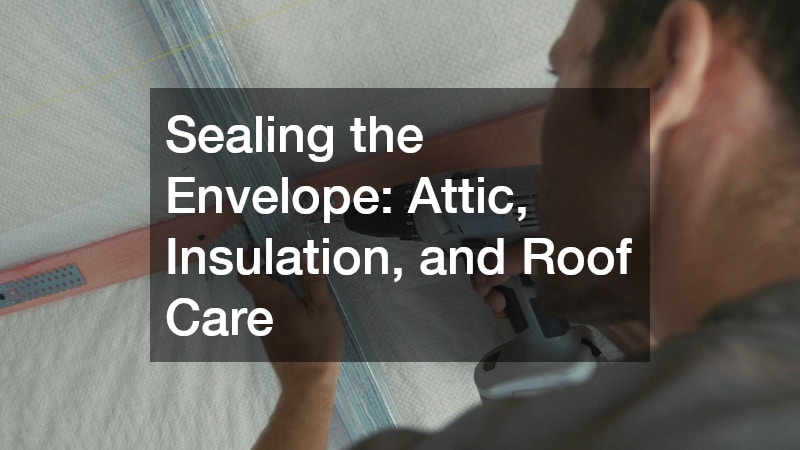
Your home’s “envelope” is the thermal barrier that separates your conditioned indoor living space from the harsh outdoor elements. If this barrier is full of gaps or lacks proper insulation, your heating and cooling systems will run endlessly as precious conditioned air leaks out of your attic and walls.
Sealing these gaps is one of the most cost-effective DIY projects you can undertake.
- Seal the attic hatch: The attic door is often a major source of drafts. Apply weatherstripping around the perimeter of the hatch and glue a piece of rigid foam insulation to the back of the door.
- Fill penetrations with foam: Look under sinks, behind dryers, and around outdoor plumbing penetrations. Use expanding polyurethane foam to seal any gaps where pipes pass through exterior walls.
- Maintain proper gutter drainage: Clean your gutters at least twice a year to prevent water from backing up under your shingles. Standing water will quickly rot the wooden fascia boards and find a path into your attic.
- Install chimney draft blockers: When your fireplace is not in use, ensure the damper is sealed tightly or use an inflatable chimney balloon to stop heat from escaping up the flue.
- Add sweeps to exterior doors: Install durable rubber door sweeps on all exterior thresholds to seal the gap between the bottom of the door and the floor.
Beyond sealing drafts, the sheer volume of insulation in your attic plays a massive role in your comfort and your bills. If you peer into your attic and can easily see the tops of the wooden ceiling joists, your insulation depth is insufficient. Investing in a professional residential insulation service to blow in extra fiberglass or cellulose is one of the highest-yield home upgrades available, often paying for itself in lower energy bills within just a couple of seasons.
While you are focusing on the top of your home, do not neglect the roof itself. Conducting seasonal visual inspections for missing shingles, cracked flashing, or damaged vent boots will allow you to catch small leaks before they destroy your ceiling drywall. Working with a reliable roofing contractor to make localized repairs keeps your attic dry and prevents minor water intrusion from turning into a major structural emergency.
Long-Term Asset Management: Structural and External Systems

Every home is a collection of depreciating assets. Knowing the life expectancy of your home’s major components allows you to plan for replacements on your own terms, rather than waiting for an active failure to force your hand. This is particularly true for your home’s primary defense against the elements: the roof.
Managing your roof proactively is a masterclass in long-term financial preservation.
- Track the age of your roof: Most standard architectural shingle roofs are designed to last between 20 and 25 years. Knowing where your roof stands in its life cycle prevents unexpected financial shocks.
- Schedule soft wash cleanings: If you notice dark streaks of algae growing on your shingles, have them professionally cleaned. Algae retains moisture and breaks down the protective UV granules on your shingles.
- Trim overhanging branches: Keep tree limbs trimmed back at least ten feet from your roofline to prevent them from scraping against shingles during high winds or providing easy access for roof-damaging pests.
- Check foundation grading: Walk around your home’s exterior to ensure the ground slopes downward away from the foundation wall at a rate of six inches over the first ten feet.
- Inspect crawl space vents: Open vents in the summer to let moisture escape, and seal them during freezing winter months to protect underfloor pipes from freezing.
When a roof finally reaches the end of its functional life, attempting to patch it repeatedly is a losing battle that risks severe internal water damage. Budgeting ahead for necessary roof replacements allows you to secure competitive quotes, select the best materials for your climate, and avoid the high interest rates of emergency financing.
Additionally, pay close attention to how water drains across your property. Downspouts should always discharge water several feet away from your foundation to prevent soil erosion, basement flooding, and foundation cracking. Proper yard grading also protects public infrastructure. Understanding how your private drainage systems interact with local wastewater companies is essential, as poor yard management or illegal sump pump connections can overload municipal sewer systems, resulting in backup issues that can flood your basement with raw sewage during heavy rains.
Taking charge of your home’s maintenance can feel like an overwhelming responsibility, but it is ultimately a path to financial freedom. By shifting your mindset from reactive repairing to proactive preserving, you gain complete control over your home’s operational costs. The small amount of time and money you invest in cleaning coils, flushing tanks, and clearing gutters today will return to you manifold in the form of lower utility bills, increased home equity, and a peaceful night’s sleep free from the fear of sudden home emergencies. Pick just one task from this guide to tackle this coming weekend, and take your first step toward a more efficient, affordable home.